


Table of Contents:
- Sanding to Refinish Exterior Wooden Door
- The Best Hand-Held Sander
- Sawhorses
- The Sanding Process for Refinishing Exterior Wooden Door
- Safety Precautions
- Hubby Took Control of My Door Refinishing Project
- Check Your Lighting when Refinishing
- Another Round of Sanding to Refinish my Door
- The Final Saga of Refinishing My Exterior Wooden Door
- The Good News About the Refinishing Project
- Chemical Paint Stripping to Refinish Exterior Wooden Door
- Non-toxic Paint Stripping Alternative
- Professional Exterior Door Refinishing
- Dip & Strip Service
- Sandblasting to Refinish Exterior Wooden Door
- More Options for Sandblasting Method
- Lessons I learned About Refinishing Exterior Wood Doors
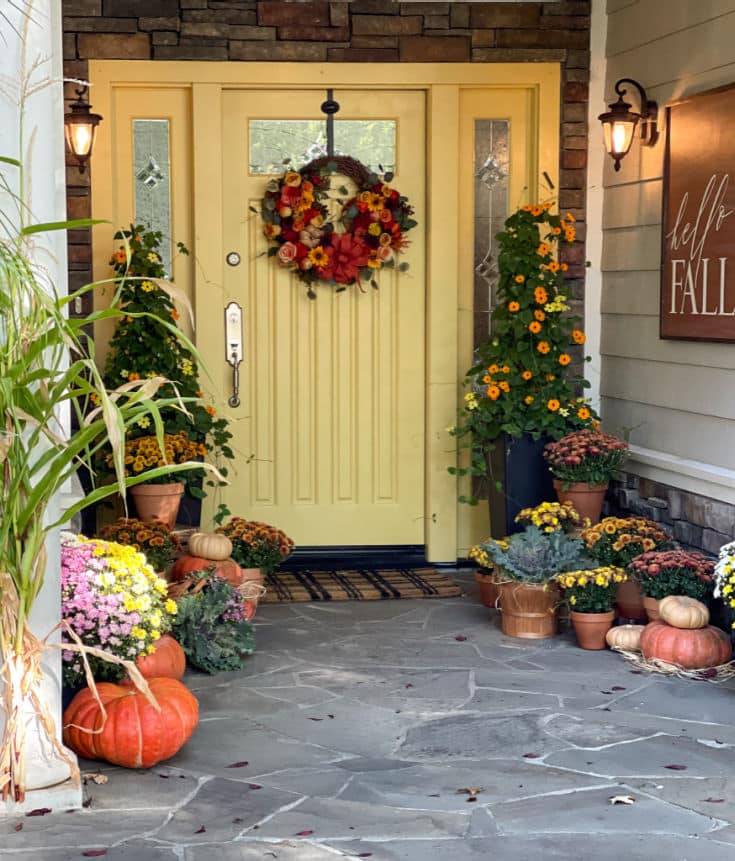
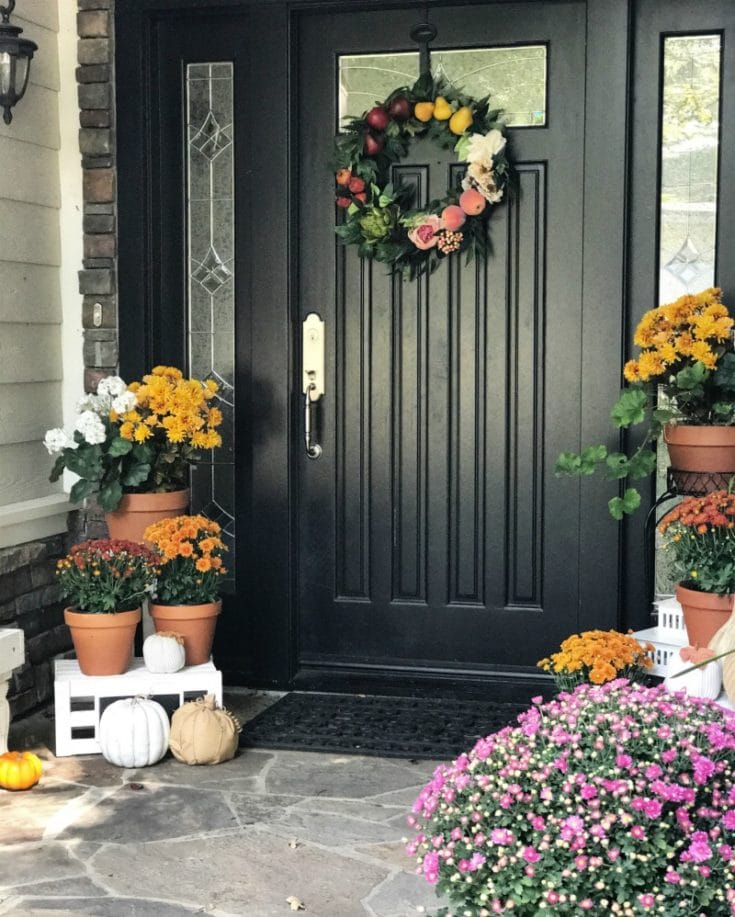
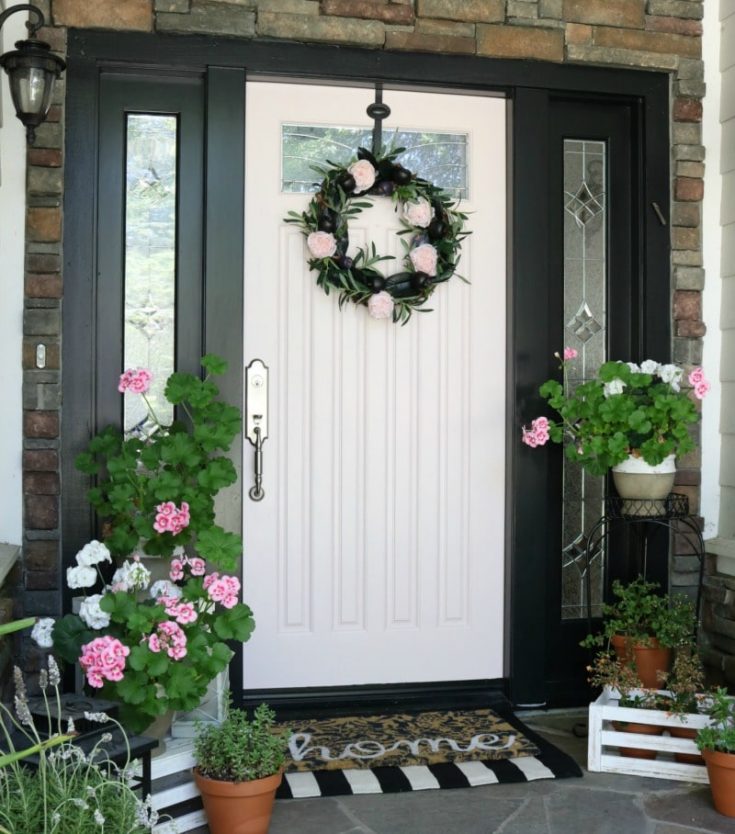
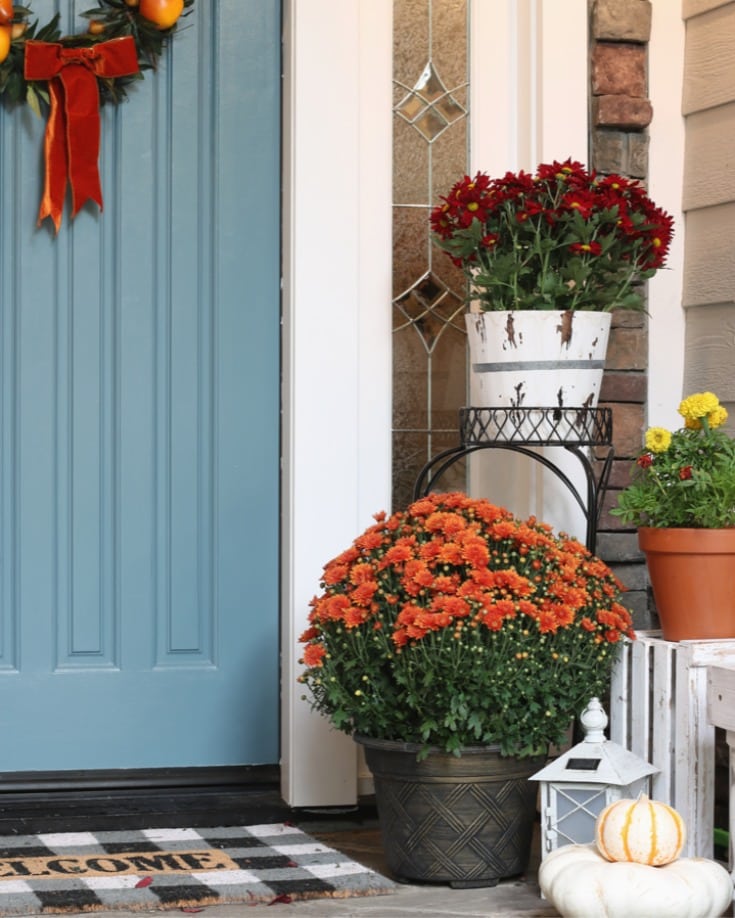
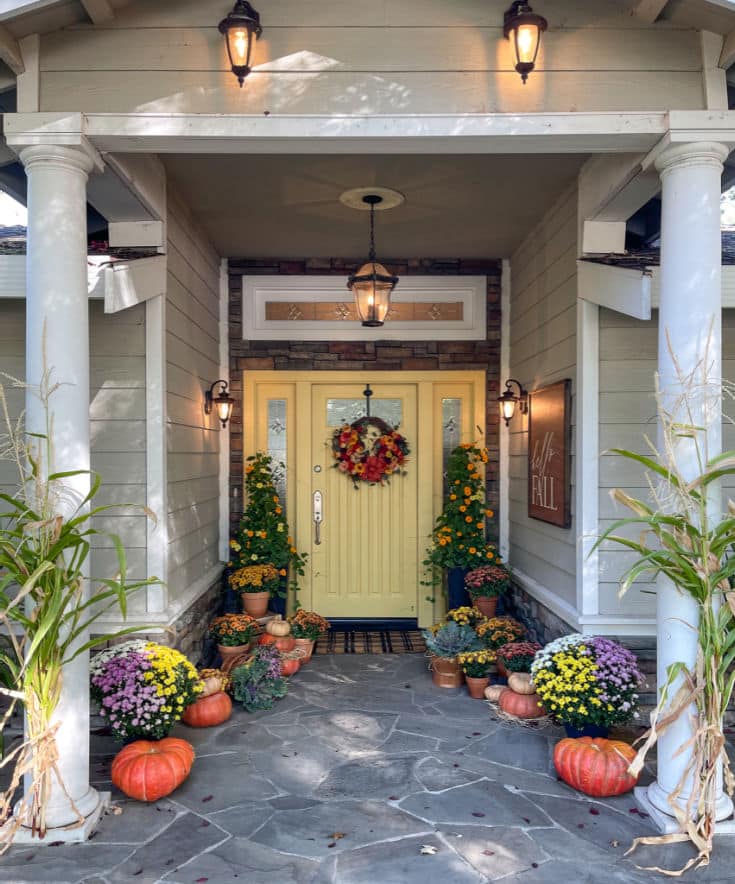
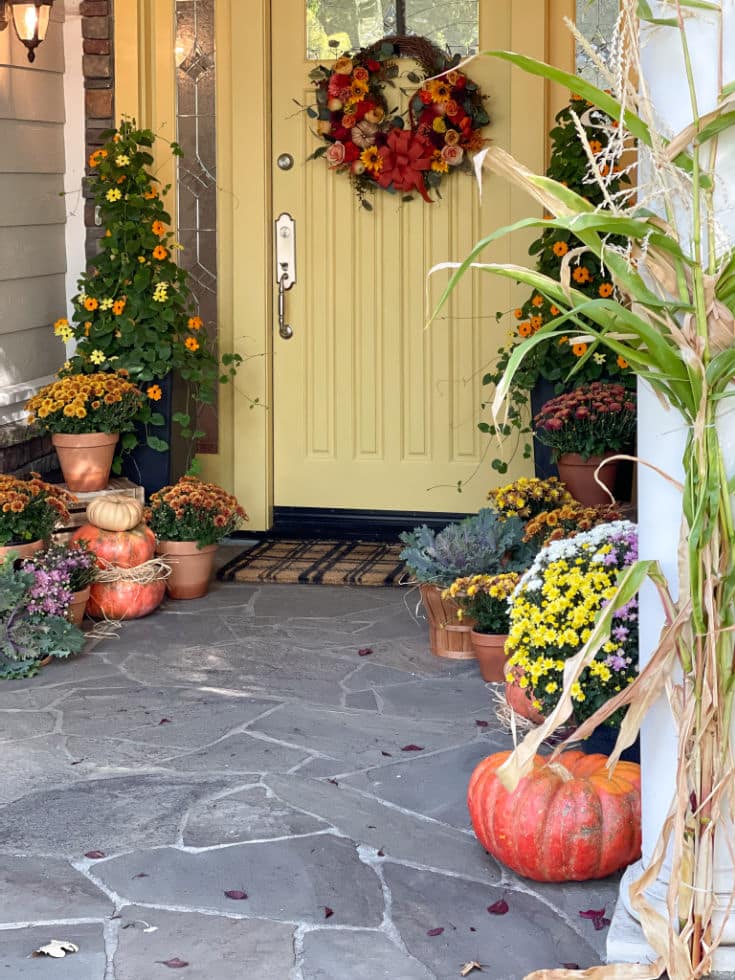
Let’s face it, the front door is the focal point of your home. Give your front door some serious TLC, and your home will reap the rewards. A beautiful front door makes a big visual impact. It also adds value to your home. We’ll go through how to refinish an exterior wooden door, so you can create your best curb appeal.
This blog post is for you if you want to improve the look of your home, but don’t want to spend the time or money to refinish or repaint the whole house.
In this blog post you’ll learn:
- How to repair a door that has many layers of paint.
- All options for treating a door with many paint layers.
Sanding to Refinish Exterior Wooden Door
I decided to sand our door before painting it. After painting our front door and repainting it season after season, I knew it was time to remove some of the many layers.
I heard horror stories of stripping gone wrong and pictured getting started on a messy stripping process without being able to put our front door back on the house in the middle of the process.
Instead, I decided to simply sand the door.
Well, there is nothing simple about sanding a door with as many layers of paint as my door had.
Let’s just get that straight from the start.
The Best Hand-Held Sander
I researched hand-held sanders and found that the Bosch Palm Sander – Random Orbital Sander got top reviews.
- It’s a corded model. If you can work close to an outlet or with an extension cord I would highly recommend this sander.
- It comes with it’s own sanding discs.
- It’s very easy to switch sanding discs in and out.
- It also has a built-in dust collector which traps & collects dust with a micro filter system.
- It traps dust particles as small as a ½ micron in diameter.
Sawhorses
The Sanding Process for Refinishing Exterior Wooden Door
Step one in the sanding process: Remove the door from its hinges and lay it out on saw horses.
I set down some drop cloths on the front lawn, tried to find some shade, placed the saw horses on top of the drop cloths and got to work.
Step 2: Remove all the hardware.
In hindsight, I should have used a utility knife to cut around the hardware before removing to prevent it from peeling away the paint in strips. But now I know to do that next time. The paint stuck to the hardware and peeled off the door leaving behind long strips void of paint. Later we had a really hard time evening out these areas.
Safety Precautions
Wear protective eyewear (preferably goggles) and a facemask that will protect from microparticles. The Bosch has a good filter system so that is helpful, and working outside is also a good idea. But be very careful working in enclosed areas.
Read: “Learn These Expert Tips to Paint Like a Professional,” our best blog post on the topic of exterior painting.
- I started sanding with the coarsest sandpaper, a 60 grit disk and began working over the entire length of the door in even, light strokes.
- You should sand in the direction of the grain of the wood.
- My goal was never to get down to the actual grain of the wood, so in my case it didn’t really matter.
- After completing each level of sandpaper, I wiped down the door to examine the progress and assess so I could adjust how I was sanding.
- Then I repeated the sanding process with the 120 grit, and with the 240. This took all day.
Meanwhile, there was a huge area where the hardware had stripped off a large chunk of paint, and my husband Bill had decided to get out his big belt sander to get to work on that area. I lost track of how much time he spent trying to sand down that area, but pretty soon we started to see bare wood!
By the end of the day I had a door that looked like a kaleidoscope.
Some people really liked it. It actually looked like a really, REALLY chippy door that belonged on a rustic farm house.
Some people thought I should keep it, including my boys, who really loved it.
I couldn’t wait to get the door back on the house and start painting!
Hubby Took Control of My Door Refinishing Project
Bill had another idea in mind.
And I’m not exactly sure when or how, but somewhere along the way I lost control of the project.
Bill had gotten involved and started taking over. I had imagined one day of sanding. One day with the door off the house. Then back on and business as usual. I would be back to painting the door and all would be right with the world.
Bill had something entirely different in mind.
He said no.
He thought tomorrow it would be a good idea to take the door off again and paint the door off the house.
“We” would get a better paint job that way.
Hmm. I had only painted the door 11 times before and had never taken the door off the house. I wasn’t sure why we had to start now. But Bill was now calling the shots. So the door came off the house for the second day.
That’s when things started to go south.
As soon as I put the first coat of that beautiful Marblehead Gold by Benjamin Moore I could see all the uneven pits and grooves in the door.
It was awful. It was SO much worse than before I sanded.
I wanted to cry!!
All that work!
That that blood sweat and now….tears!
Check Your Lighting when Refinishing
Actually, the problem was I didn’t really see it.
You know why?
Because I was painting in the garage! If I had been painting outside with the door up where I usually painted I would have seen it right away, but the lighting was terrible.
I painted 2 full coats of paint and didn’t notice how awful it was until I put the door back up the next day. It wasn’t until then that the natural light hit it and I could see. THEN I realized how awful it was.
So guess what??
The door came down for a third day.
Yup.
Day number three.
Can you hear how I was feeling? I think you can. GRRRR!
Another Round of Sanding to Refinish my Door
I spent the next day sanding off my beautiful gold paint. Then I researched different wood filler options.
I headed back to Home Depot, my home away from home.
I was frustrated.
And at this point I was wondering if I shouldn’t have chosen another option for my door refinishing project.
(At this point, if you are tired of reading my story you can just skip down to one of the other options. I promise, I won’t be offended)
Or, if the suspense is killing you, read on to hear how the story turns out.
- I used Dap Plastic Wood Professional Wood Filler to fill in areas that needed filling.
- Then a plastic putty tool to press it into some areas, I used just my finger in other areas.
- Next, I let it set or dry for about 15 minutes.
- Finally, I came back and lightly sanded.
The door went back up after day three.
Dap Plastic Wood Professional Wood Filler
The Final Saga of Refinishing My Exterior Wooden Door
Day four I put my foot down and said that’s it!
I’m painting the final coat(s) with the door in place. I don’t want to take the door down anymore. It’s good enough.
Luckily Bill was over it too.
Day one the door had gone back up really easily. But twice we had had a lot of trouble getting it back onto the hinges. Neither of us was excited about taking the door on or off again if we didn’t absolutely have to.
The Good News About the Refinishing Project
Finally, the good news was that after our last efforts with the wood filler, sanding and repainting, the door FINALLY looked beautiful. I was happy at last!
Was it worth it? Um, not so sure about that.
Would I ever choose to sand my door as my first choice to refinishing or as a “short cut” to refinishing? I don’t think so. I’ve learned many lessons. And I hope that through my mistakes and misjudgments you have learned as well.
Read on to see some of the other options out there before you think about taking a so-called “short cut” like I did.
Chemical Paint Stripping to Refinish Exterior Wooden Door
This option uses chemical paint strippers like CitriStrip Paint & Varnish Stripping Gel
These products remove multiple layers of:
- latex paint
- oil-based paint
- varnish
- lacquer
- polyurethane
- and shellac.
They contain no methylene chloride or NMP and have no harsh fumes.
Be careful, however. These still are toxic chemicals and can burn your skin. Take precautions and wear gloves.

Non-toxic Paint Stripping Alternative
You can find friendlier non-toxic versions as well.
Safe ‘n Easy Citrus Paint & Varnish Remover Gel strips 15 plus layers of paint safely, without hazardous fumes. And it is non-toxic. This product still claims to remove paint layers quickly and effectively.
To be fair, I didn’t test this one myself, but it might be worth a try.
Then if it wasn’t successful I might go with a heavier duty chemical (toxic) version.
Professional Exterior Door Refinishing
What about hiring a professional to refinish your exterior wooden door?
My followers asked me why I didn’t just “send my door out to be stripped”?
I researched this and found that this is definitely an option. But it is expensive.
When I think of the five days I spent working on my recent partial exterior door refinishing project, I am not at all surprised. This was a lot of hard work.
Fortunately, most people don’t repaint their doors as often as I do, so most doors don’t have as many layers to work through as my door had.
Dip & Strip Service
You can send your door out to be “dipped and stripped” professionally. Prices vary by location of course. I found that this service generally starts around $200/door. But there is always the problem of what to do with the security of your home while the door is removed.
A ‘Dip and Strip’ service usually doesn’t include the final hand standing step.
There are some professional services that will strip your door in place, but this is likely to be a more expensive service.
I found information online that stated that the “… average cost for a wood door refinishing project is between $450 and $1250, and it could be more, if your door has detailed carvings, extensive damage, or needs to be removed from its hinges to complete the project.”
Sandblasting to Refinish Exterior Wooden Door
Sandblasting works for removing layers of paint, especially if other methods have proven unsuccessful.
However, metal doors are better suited for this method.
- Sandblasting can leave scarring and pitting in the wood because of the high force intensity involved.
- Sandblasting makes use of an air compressor to shoot sand at a high velocity toward an object.
- It is also a potentially very messy technique.
- Caution should be used if attempting this technique with a wood door.
More Options for Sandblasting Method
- You can hire a professional to perform this technique.
- You can also DIY this technique by renting sanding blasting equipment and doing it yourself.
- The best surfaces for sandblasting include brick, metal and concrete.
- Note: If you decide to attempt sandblasting on your own, be sure to educate yourself on the dangers and precautions of this technique before you start. Be sure to wear the proper protective clothing and respirator device.
Lessons I learned About Refinishing Exterior Wood Doors
- It’s not easy to refinish an exterior wooden door.
- It can be time and labor intensive.
- You might want to hire a professional.
- Sanding isn’t necessarily the “easy” method”.
- If you have a lot of paint layers, sanding is definitely NOT the easy method.
- Understand the problems your door has before you begin your project. Then choose your method of refinishing based on the best solution.
Being armed with knowledge can go a long way. This is why we think this blog post will save many people a lot of work and heartache. Understanding what you are up against is half the battle.
Choose the right method, and you’ll be successful. Good luck with your exterior wood door refinishing projects.
Visit our other blog post all about How to Paint Like a Professional, literally all the tips we learned from the pros that painted Julie’s exterior front doors and garage doors.


If I were to improve my home’s curb appeal, I would make sure to hire a contractor that will be able to have a fence installed. Thank you for sharing here as well the importance of removing the unnecessary hardware in front of the property. I also agree with you that it would be a great idea to have new plants at the entrance.
If I were to improve my home’s curb appeal, I would make sure to have an exterior railing installed in it. Thank you for sharing here as well that part of the property’s improvement is to have its door repaired. Aside from this, you are also right that it would be smarter to have it repainted.
Such a pretty post! Terrific round-up of ideas and inspiration! I love the idea of repainting the front door. There are a million colors to choose from luxurious black to fancy pink. But as for the option for the finish, I would recommend a semi-gloss one. Semi-gloss paint gives you a smoother surface than lower-sheen finishes and has a degree of shine, providing a visual contrast